HP DesignJet 500|510|800 Repair Los Angeles
Southern California’s Fast Onsite HP DesignJet |500 |510 | 800 Repair & Services
Los Angeles | Orange County | Riverside County |San Bernardino | Ventura County – California
HP DesignJet 500 Printer – 24” Model (P/N C7769B)
HP DesignJet 500 Printer – 42” Model (P/N C7770B)
HP DesignJet 500PS Printer – 24” Model (P/N C7769C)
HP DesignJet 500PS Printer – 42” Model (P/N C7770C)
HP DesignJet 800 Printer – 24” Model (P/N C7779B)
HP DesignJet 800 Printer – 42” Model (P/N C7780B)
HP DesignJet 800PS Printer – 24” Model (P/N C7779C)
HP DesignJet 800PS Printer – 42” Model (P/N C7780C
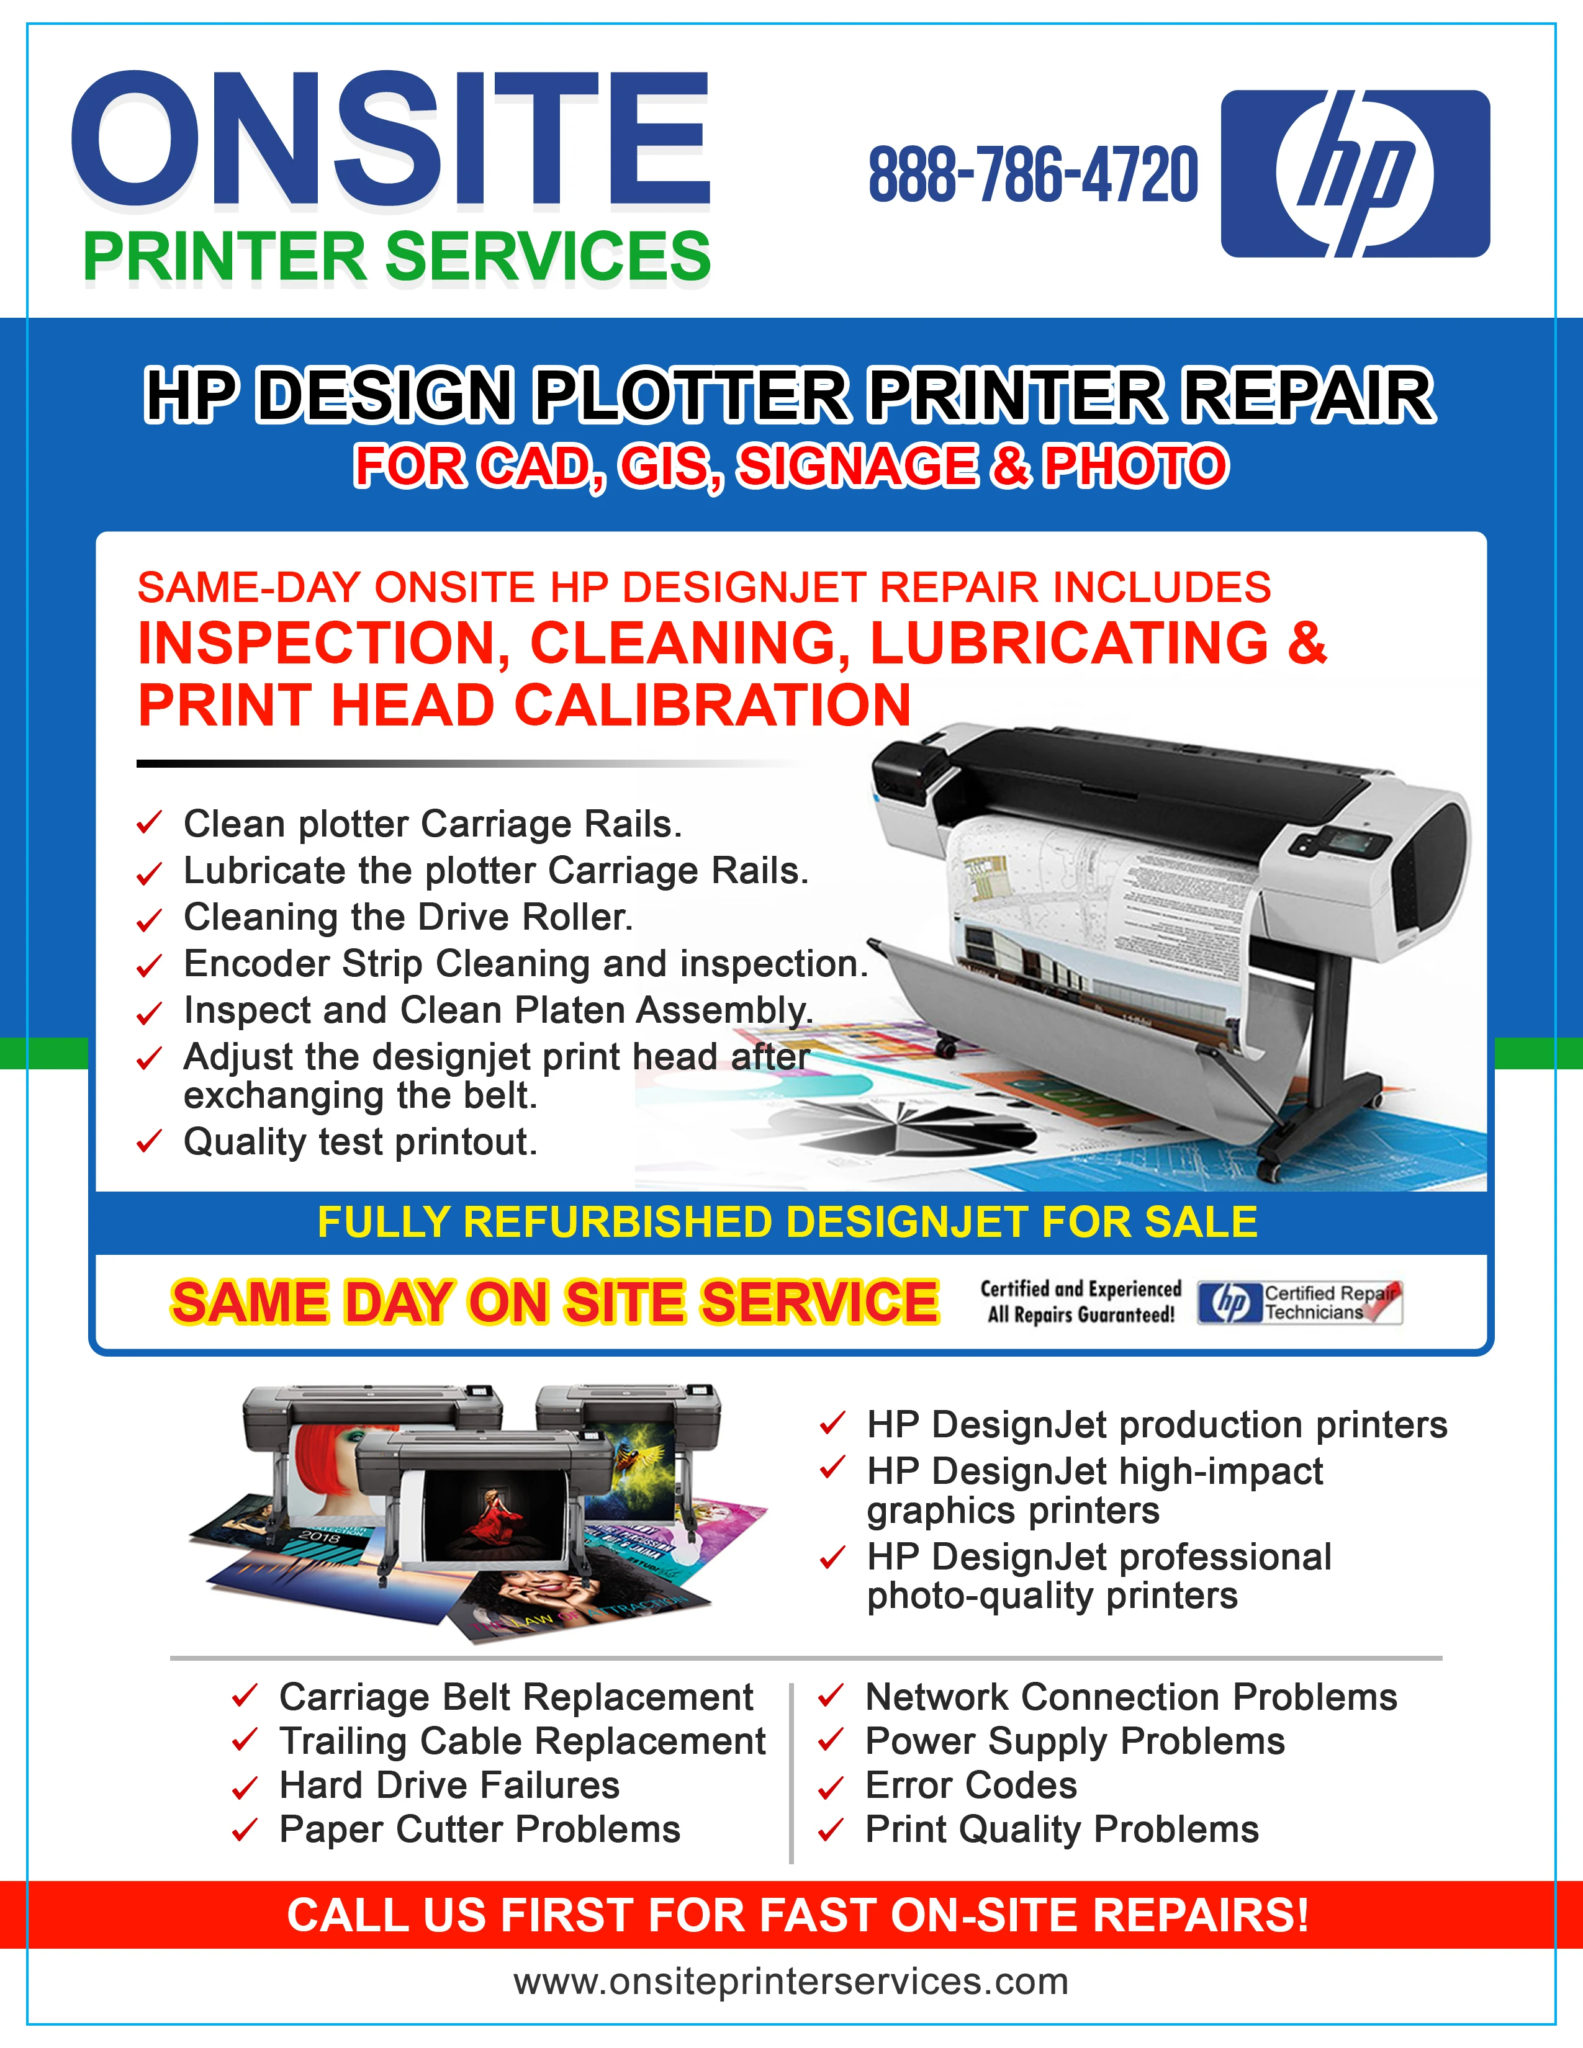
Same-day onsite Design Jet color and black & white plotter service includes inspecting, cleaning, lubricating and print head calibration!
- Clean Plotter Carriage Rails.
- Lubricate the Plotter Carriage Rails.
- Cleaning the Drive Roller
- Encoder Strip Cleaning and inspection.
- Inspect and Clean Platen Assembly.
- Clean the entire HP plotter.
- Calibrate the plotter print head after replacing the belt.
- Calibrate the Color after the plotter maintenance service.
- Quality test printout.
- HP Plotter Repair – Same-day Design Jet Plotter Service at your site!
HP Design Jet 500 & 800 plotter has common problems and parts that wear out are the carriage belt 24″ plotter belt, 42″ plotter belt, trailing cable 24″ plotter cable, 42″ plotter cable, causing intermittent errors when they start to break down internally, ink tube system 24″ plotter, 42″ plotter and dirty drop detectors in the service station. The print heads can cause problem when plotter is not used regularly. Print heads tend to dry up and clog after a few days of inactivity.
HP DesignJet 500 | 510 | 800 Error Codes
| System error 01:10 | A problem with the Electronics module has occurred. |
| System error 01:11 | The electronics module has detected a connection problem with the cooling fan. |
| System error 01:12 | The EEROM is not configured correctly. |
| System error 01:13 | A problem with the Electronics module has occurred. |
| System error 02:10 | A problem has occurred with the carriage assembly |
| System error 02:13 | A problem has occurred with the carriage assembly. |
| System error 03:10 | A problem has occurred with the printers power supply. |
| System error 04:11 | Jetdirect network card not detected. |
| System error 05:09 (DJ 500 only) | Formatter installed instead of HP-GL/2 accessory card. |
| System error 05:10 (DJ 800 only) | Formatter card failure, or Formatter card not detected |
| System error 05:10 (DJ 500 only) | HP-GL/2 accessory card failure |
| System error 06:03 (DJ 800 only) | Hard disk error |
| System error 08:11 | The front panel cannot be detected. |
| System error 11:11 | The trailing cable is poorly connected |
| System error 11:13 | Problem with setting the voltage of the printheads |
| System error 12:11 | A short has been detected in the carriage assembly. |
| System Error 17:11 (DJ 500 only) | A problem has been detected while initializing. |
| System error 21:10 | A problem has been detected with the Service Station assembly. |
| System error 21:11 | A problem has been detected with the Service Station assembly. |
| System error 22:10 | A problem has been detected with the Ink Supply Station. |
| System error 41:10 | A problem has been detected with the Paper-Axis motor |
| System error 41:13 | An error in the paper-axis motor encoder quadrature has occurred. |
| System error 42:10 | A problem has occurred with the Scan-Axis motor. |
| System error 43:10 | A problem has occurred with the Vacuum fan. |
| System error 43:11 | The Vacuum fan is not detected. |
| System error 55:11 | A problem with the line sensor has occurred. |
| System error 56:10 | Drive roller encoder sensor error. |
| System error 56:13 | An error in the drive roller encoder sensor quadrature has occurred. |
| System error 61:04 | Firmware error. |
| System error 61:05 | The printer was not able to process a job that was sent. |
| System error 62:03 | Parallel port communication problem |
| System error 63:03 | LAN card communication problem. |
| System error 64:03 | USB port communication problem. |
| System error 64:04 | Firmware error (USB port). |
| System error 65:03 | Generic input/output port communication problem. |
| System error 71:04 | Problem allocating memory. |
| System error 71:06 | Out of memory problem. |
| System error 72:04 | Problem in the scan-axis (firmware error). |
| System error 73:04 | Server error. |
| System error 79:04 | Miscellaneous firmware error. |
| System error 81:01 | Paper-axis shutdown. |
| System error 81:11 | Paper-axis shutdown (during the paper advance test). |
| System error 85:10 | Paper-axis shutdown (during the paper advance test). |
| System error 86:01 | Carriage-Axis shutdown. |
| System error 86:11 | Carriage-axis shutdown (during the carriage movement test). |
| System error 86:13 | Carriage-Axis shutdown (firmware error). |
| System error 87:13 | Unable to read the carriage encoder sensor. |
| System error 93:10 | Ink System startup failed. |
HP Designjet Plotter 500 & 800 Series Printers – Problems With the Automatic Cutter Repair Los Angeles | Orange County | San Bernardino County | Riverside County –Southern California
Introduction
When the printer is not cutting the media at the end of a print, it is important to diagnose whether the issue is with the hardware or the software. To determine this, load roll media and press the FORM FEED AND CUT button. If the carriage moves to the left side of the printer but fails to pick up the cutter, the issue is with the hardware. If the printer cuts the media, the issue is with the software.
Software troubleshooting
Follow the steps below to check the software settings.
- Select Start, Settings, and then Printers.
- Right-click the Designjet 500 or Designjet 800 printer icon and select Properties in WIN95, Document Defaults in WINNT/2000
- Select the Advanced tab and verify that there is not a check in the Disable Automatic Cutter checkbox.
- Select the General tab and click the Print Test Page button.
| NOTE: | If the printer cuts the media after sending the test page, but does not cut from the software application, check the settings in the software application. |
- If the cutter still does not work (with internal or software application prints) unless the FORM FEED AND CUT button is pressed, continue with the remaining steps.
- Using the Arrow button, highlight the Ink menu icon on the printers front panel and press Enter.
- Scroll to Replace printheads and press Enter.
- When the printhead carriage becomes accessible, remove the power cord from the printer.
| NOTE: | If you simply power cycle the printer, the carriage is parked in the Service Station and the printer does not perform a Y-axis home position calibration. The carriage must be in the middle of the printer during bootup in order to force a new Y-axis home position discovery, which thereby resolves any cutter related positioning problems. |
- Ensure the printer has been unplugged for at least ten seconds.
- Plug the power cable back into the printer.
- Send an internal test page and a test file from the application to verify cutter functionality.
- If problems persist, continue with the hardware troubleshooting steps listed below.
Hardware troubleshooting
The cutter may not be in the correct position to be picked up by the carriage. Try the following steps to correct the cutter positioning.
| WARNING: | Do not touch the flat metal strip that runs the length of the printer behind the carriage. Its edges are sharp and can cause injury. |
- Open the top cover of the printer.
- Reach into the left side of the printer and manually move the cutter to the right about an inch. The cutter unit is attached to the printer by a black cutter holder that runs along the metal guide rail and is hooked onto the edge of the black drive roller at the front of the printer.
| NOTE: | Do not move the cutter into media path or a media jam will result. |
- Press the FORM FEED AND CUT button.
If the carriage does not pick up the cutter, the issue may be that the cutter is off its track. Follow the steps below to reseat the cutter.
- Reach into the left side of the printer and manually align the cutter with the notch in the media deflector. This notch is located about 4.5 inches to the left of the blue media release lever.
- Lift the small handle on the cutter holder and gently pull the cutter toward the front of the printer to release the cutter from the cutter holder. Do not remove the cutter holder.
- Insert the bottom part of the cutter into the notch in the media deflector.
- Align the cutter with the cutter holder and push the cutter gently toward the back of the printer until the cutter snaps into the cutter holder.
- Manually push the cutter just to the left of the media path.
- Press the FORM FEED and CUT button.
HP Designjet 500, 510 & 800 Series Printers – Cleaning the Printhead and Carriage Contacts Los Angeles | Orange County | San Bernardino County | Riverside County
Introduction
The printheads and/or printhead carriage contacts may gather foreign material that can cause continuity problems. This document provides instructions on how to properly clean the printhead and printhead carriage electrical contacts.
Cleaning the electrical contacts
- Turn the printer off, then on.
- Allow printer to complete initialization.
- Using the Down Arrow key, scroll to the Ink menu (ink drop icon) and press Enter.
- Scroll to Replace Printheads and press Enter.
- Open the top cover.
- Open the carriage cover and remove all printheads.
- Unplug the power cable from the printer.
- Clean the electrical contacts on the carriage and the printheads using a lint-free cloth (such as a coffee filter), lightly dampened with water.
| CAUTION: | Do not clean the printhead nozzle plate. Doing so may cause permanent damage to the printhead. |
- When the contacts are dry, reinstall the printheads and close the carriage cover.
- Close the top cover.
- Plug in the power cable, turn the printer on and attempt to verify functionality.
Southern California’s Best Choice For Onsite HP Designjet Plotter 500 & 800 Repair & Service at your Location with no travel charge.
Your HP Designjet Plotter needs are important to us; that’s why we strive to deliver the very best service possible. We hope that you choose Onsite Printer Services for your HP DesignJet Service and Plotter Repair in Southern California.