Corona -Ca HP Printer Repair

Corona-Ca HP LaserJet Printer Repair | Service | Cleaning 

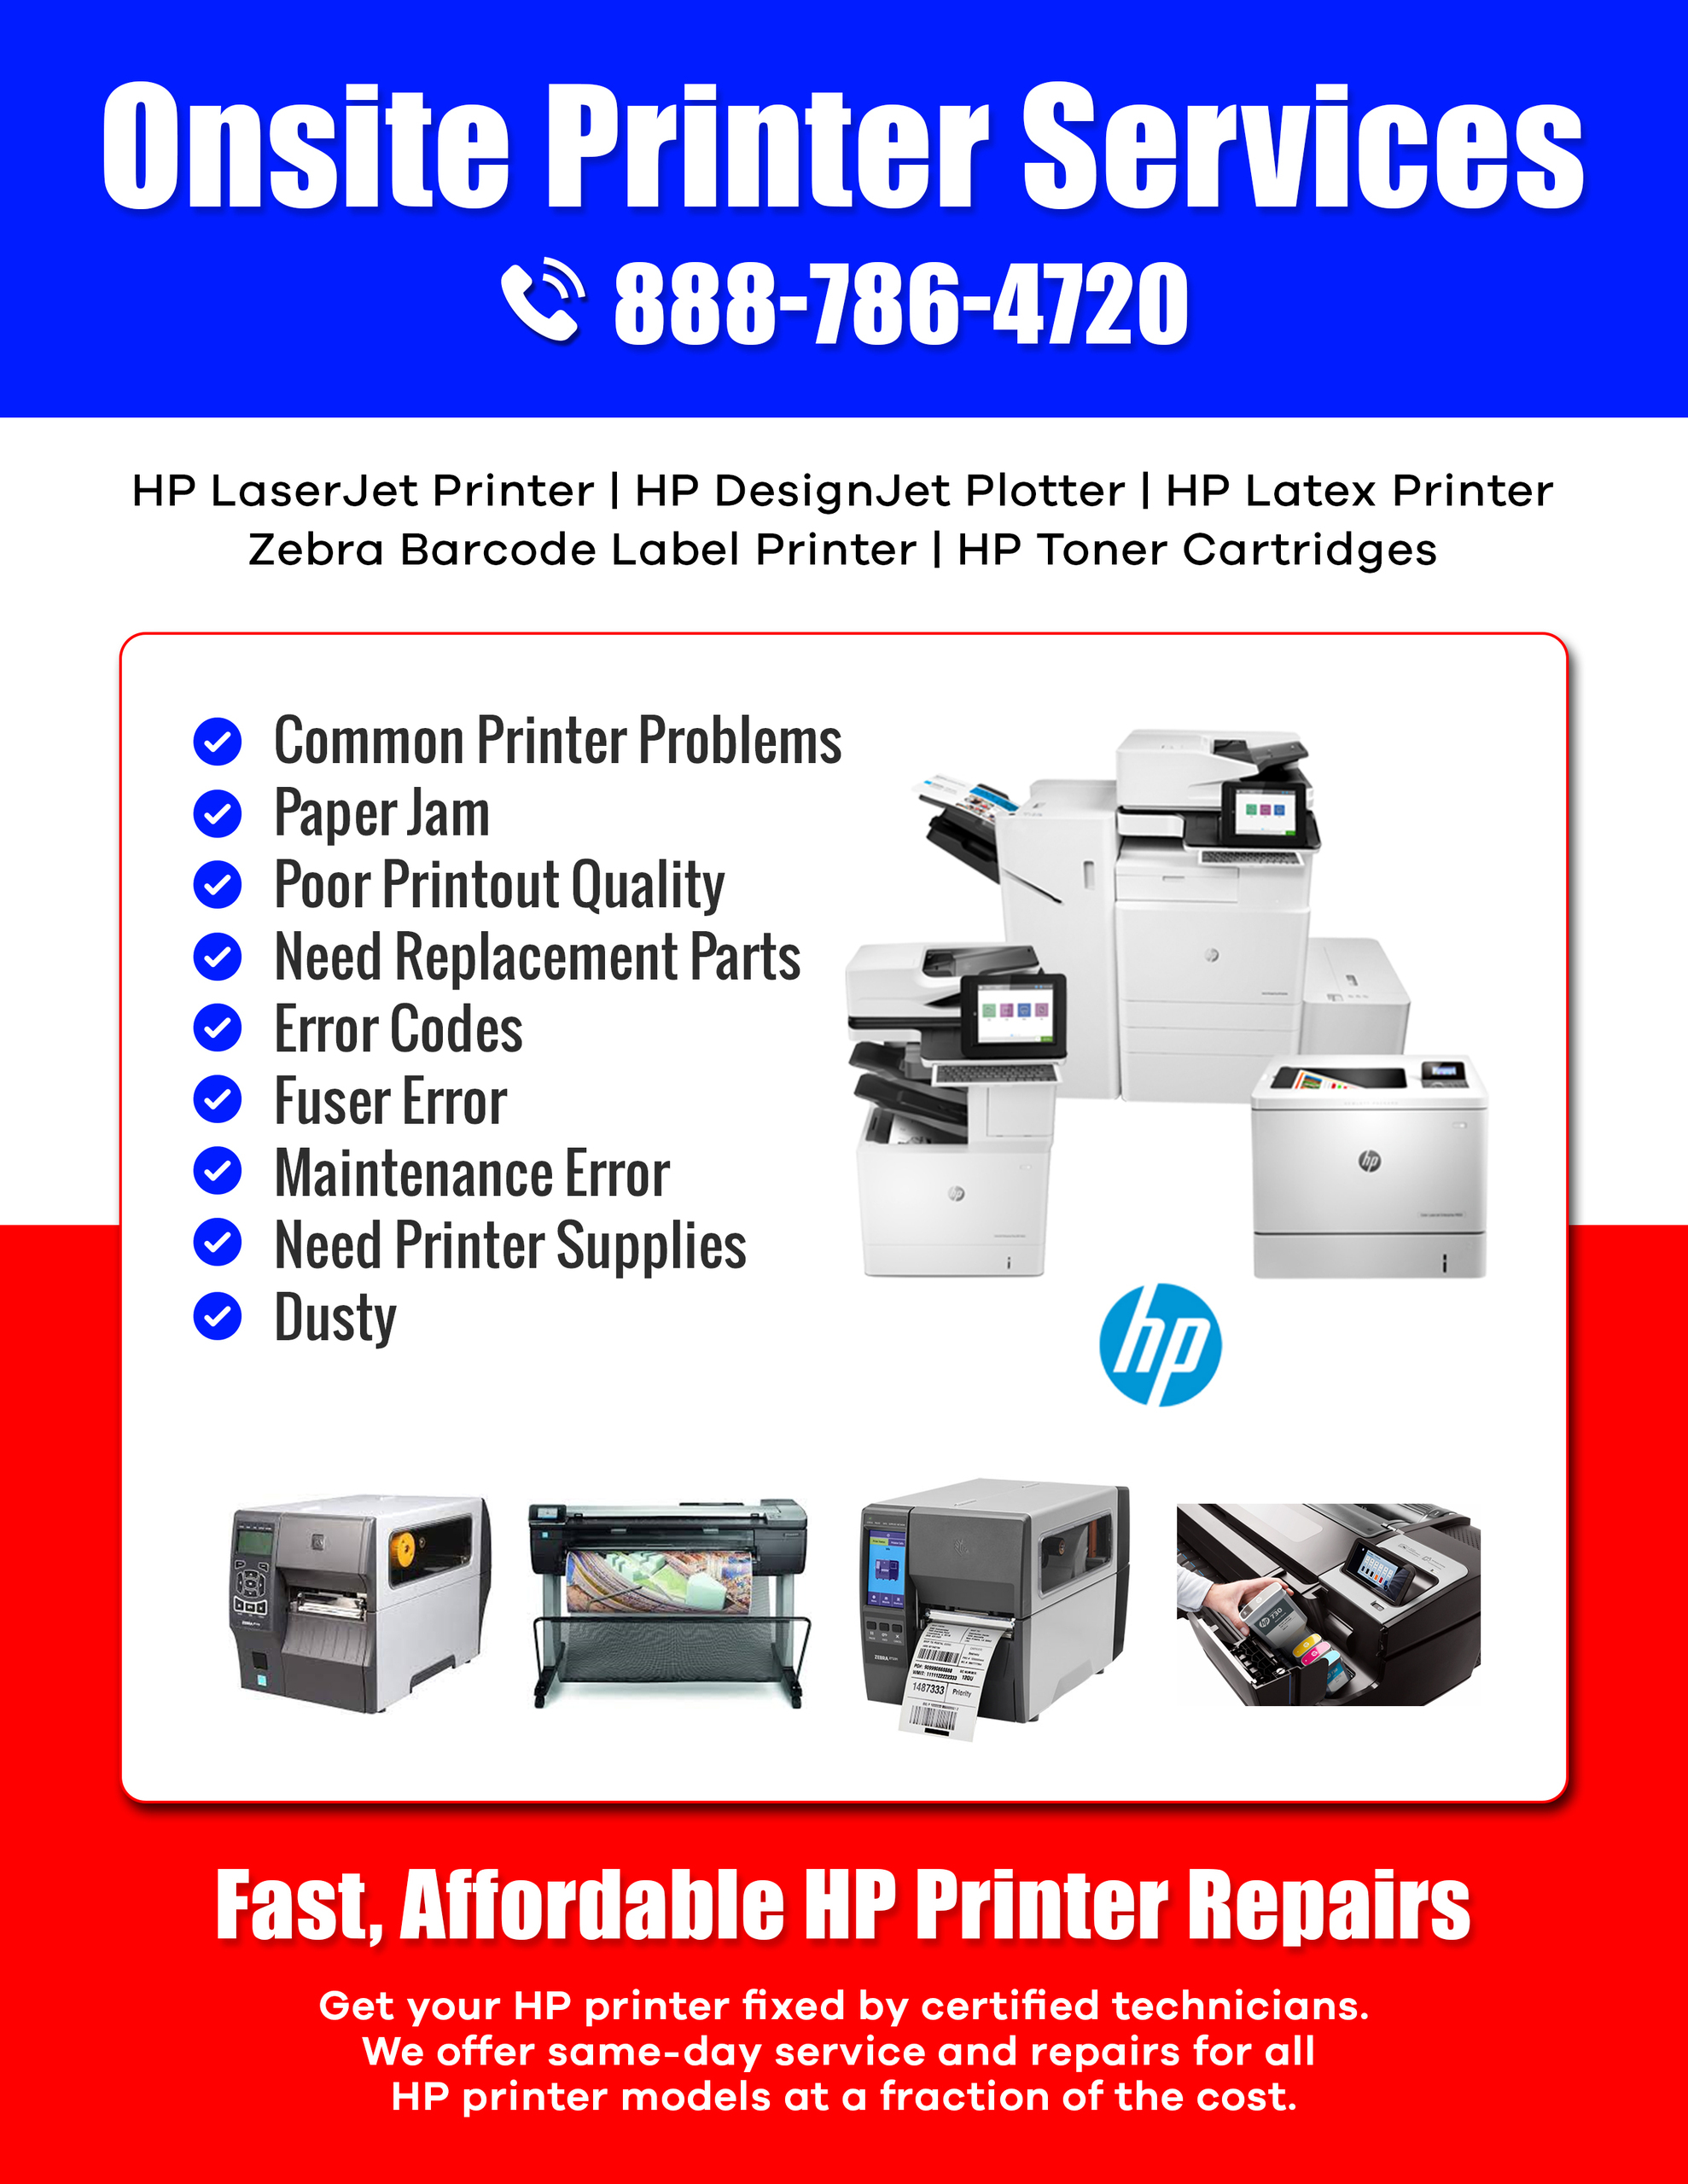
HP LaserJet Printer | HP MFP Printer | HP Enterprise Printer Repair Corona-Ca

HP LaserJet Printer Cleaning

By cleaning your HP laser printers, you’re sure to lengthen your printer’s life and avoid the troubles of printer malfunction caused by not performing the task mentioned. Most printer users tend to search the internet on how-to’s but end up finding complicated steps that’s why in this article, we’re going to show you three ways on how to clean that HP laser printer as easy as a piece of cake.

  • Cleaning the HP Laser Printer’s surface – When your HP laser printer’s surface gets dusty, you can just wipe it off the top using anti-static wipes or a paper towel, or use a can of compressed air and spray the top, removing the dusts.
  • Cleaning the Inside of Your HP Laser Printer – On the inside, the same compartment where you place your HP toner cartridges in, simply remove the cartridge then use compressed air to blow any dust particles stuck in the toner tray. If you see any large particles of paper that came from paper jams, pull out the remaining parts of papers before putting the toner cartridge back to its place.
  • Cleaning the Slot of the Paper Tray – That part can accumulate dusts too, so its better to clean it up as well by  first taking out the paper tray then the same as the printer’s surface, you use anti-static wipes, paper towel or compressed air to get the dusts off the printer.

HP LaserJet Error Codes

Message on printer Display PanelWhat it means.What to do.Additional comments.
13.XX PAPER JAM [LOCATION]Media is jammed at the specified location (and possibly at other locations). If the message persists after all jams have been cleared, a sensor or sensor lever might be stuck or broken.For all jam messages, do the following:

  • Remove jammed print media from the specified location. Check the entire paper path for other pieces of media in the path.
  • Open and close the top cover to clear the message.
  • Check sensors and flags in the paper path for proper operation.
3.0 PAPER JAM [LOCATION]A non-specific paper jam occurred.
  • Remove jammed media from the specified location.
  • Verify the paper tray is fully closed.
  • Inspect and/or replace the feed and separation rollers.
  • Ensure there is no obstruction in the path, such as a torn piece of paper.
  • Open and close the top cover to clear the message.
  • Check sensors and flags for proper operation.
13.1 PAPER JAM OPEN INPUT TRAYSPaper-delay jam at paperfeed area.
  • Ensure that paper trays are loaded and adjusted properly so media can feed from the tray. It might be necessary to reduce the stack height of media in the tray.
  • Check the input area for obstructions such as media in the path. Also check to see if the registration assembly damaged or unseated.
  • Replace any defective sensors or flags.
  • Verify the media meets the specifications.
  • Check the pickup feed and separation rollers for unusual wear. Replace as needed.
  • Rotate the media in the input tray by 180° and/or turn it over
On NX engines this is most likely the fuser flag or the ACPM. The ACPM has a photosensor hard-wired to the back of it.
13.10 PAPER JAM CHECK DUPLEXERJam at duplexer.
  • Check the duplexer and the rear area of the printer for obstructions or damage.
  • Check the duplexer for proper operation. Replace the duplexer if a sensor is defective.
On a 5si, 8000, or 8100 series laserjet a Duplex Jam can be caused by a tray 2 and 3 feed assembly failure.
13.14For Laserjet 5si. This error is caused by a defective paper control PCAReplace paper control PCA.
13.2 PAPER JAM OPEN INPUT TRAYSPaper-stopped jam at paper-feed area.
  • Check the input area for obstructions such as paper in the path. Also check to see if the registration assembly is damaged or if the transfer roller is out of place.
  • Replace any defective sensors or flags.
  • Ensure the media does not exceed the maximum length.
  • If multiple sheets are feeding, it might be necessary to fan the media and reduce the stack height. Also, replace separation pad.
  • Verify that the fuser is properly installed.
On NX engines this is an input jam.
13.20 PAPER JAM CHECK REAR DOORMedia stopped in the paper path during power on or when the top door was closed.
  • Remove all media in the paper path, and then open and close the top cover.
  • If the message persists after all media is removed: Check if media is jammed in the prefeed area. Replace any defective sensors or flags
13.21 DOOR OPEN JAMThe top cover was open while printing.
  • Clear the jam and close the top door.
  • If the message persists, check the top door switch for proper operation.
13.5 PAPER JAM CHECK REAR DOORPaper-delay jam at fuser.
  • Check the transfer roller and small media belt to ensure they are operating and can feed print media.
  • Check the paper path for obstructions at the transfer roller, toner cartridge, paper feed assembly, and fuser.
  • Replace any defective sensors or flags.
  • Turn the media stack over and/ or rotate it by 180° in the input tray.
If still persists – replace fuser, then DC controller.
13.6 PAPER JAM CHECK REAR DOORPaper-stopped jam at fuser.
  • Check the paper path for obstructions at the fuser and output/delivery area.
  • Replace any defective sensors or flags.
13.99 PAPER JAM [LOCATION]A non-specific paper jam occurred.
  • Remove jammed media from the specified location.
  • Verify the paper tray is fully closed.
  • Inspect and/or replace the feed and separation rollers.
  • Ensure there is no obstruction in the path, such as a torn piece of paper.
  • Open and close the top cover to clear the message.
  • Check sensors and flags for proper operation
Message on printer Display PanelWhat it means.What to do.Additional comments.
20 INSUFFICIENT MEMORYThe printer received more data than can fit in available memory.You might have tried to transfer too many macros, soft fonts, or complex graphics. Press GO to print the transferred data (some data might be lost). Advise the customer to simplify the print job or install additional memory
21 PAGE TOO COMPLEXThe data (dense text, rules, raster or vector graphics) sent to the printer is too complexPress GO to print the transferred data. (Some data might be lost.) Advise the customer to simplify the print job.More memory might help.
40 EIO x BAD TRANSMISSIONThe connection has been broken between the printer and the EIO card in the specified slot. (Data loss might occur in this situation.)
  • Press GO to clear the error message and continue printing.
  • Reseat the EIO card in slot [X].
41.3 UNEXPECTED PAPER SIZEThe printer detected a media size different from what it was expecting. This is typically caused if two or more sheets stick together in the printer or if the tray is not properly adjusted.
  • Reload the tray with the correct print media size.
  • Ensure that media in the tray is loaded under the front and back tabs.
  • If you are printing from tray 1, verify that the correct paper size is selected in the control panel.
  • If you are printing from tray 2, 3, or 4, verify that the three paper-size adjustments (length guide, width guide, size-selector switch) on the paper tray have been made correctly. Make sure the media is under the corner tabs.
  • After performing the actions above, press GO. The page containing the error will automatically be reprinted if jam recovery is enabled. (Or, you might want to press CANCEL JOB to clear the job from the printer’s memory.)
For the 4000, 4050, and 4100 series the paper feed assembly could be bad. Also the paper feed/registration sensors could be knocked out of place. On EX engine printers this error is caused by a bad PIU (paper input unit).
41.5 PRINTER ERRORThe media reached the PS102 or PS103 sensor too early.
  • This error usually occurs with smooth media, such as transparencies or labels. If the problem persists when using tray 1, load media one sheet at a time. If the problem persists when using trays 3 and 4, replace the feed and separation rollers.
  • Check sensors PS102 and PS103 for proper operation
For the 4000, 4050, and 4100 series the paper feed assembly could be bad. Also the paper feed/registration sensors could be knocked out of place. On EX engine printers this error is caused by a bad PIU (paper input unit).
41.x PRINTER ERRORA temporary printing error has occurred.The page containing the error will automatically be reprinted. If the error persists: 1. Reseat the connections to the laser scanner and then to the engine controller board. 2. Replace the laser scanner. 3. Replace the engine controller board
49.XX PRINTER ERRORA firmware error occurred
  • Press CANCEL JOB to clear the print job from the printer memory.
  • Turn the printer off, and then turn the printer on.
  • Try printing a job from a different software application. If the job prints, go back to the first application and try printing a different file. (If the message only appears with a certain software application or print job, contact the software vendor for assistance.)
  • If the message persists with different software applications and print jobs, disconnect all cables to the printer that connect it to the network or printer.
  • Turn the printer off.
  • Remove all memory DIMMs or third-party DIMMs from the printer. (Do not remove the firmware DIMM in the lowest DIMM slot.)
  • Remove all EIO devices from the printer.
  • Turn the printer on.
  • If the error no longer exists, install each DIMM and EIO device one at a time, making sure to turn the printer off and back on as you install each device.
  • Replace a DIMM or EIO device if you determine that it causes the error.
  • Remember to reconnect all cables that connect the printer to the network or computer.
  • If the error persists, replace the firmware DIMM.
  • Replace the formatter.
This error is usually caused by a bad formatter board.
Message on printer Display PanelWhat it means.What to do.Additional comments.
50.4 PRINTER ERRORA problem exists with the customer�s line voltage.
  • Remove the printer from any UPS supplies, additional power supplies, or power strips.
  • Plug the printer into a wall outlet and see if this resolves the problem.
  • If the printer is already plugged into a wall outlet, try another power source in the building that is independent of the one currently being used.
  • The line voltage and current source at the printer location might need to be inspected to ensure that it meets the printer�s electrical specifications.
50.X FUSER ERRORA fuser error has occurred.
  • Turn the printer off, wait 10 minutes, and then turn the printer on.
  • If the message persists, reseat the fuser. If that does not work, replace the fuser. To check the fuser, turn the printer off and remove the fuser. Measure the resistance between the fuser connectors. If it is not within the proper range, replace the fuser. If there is not continuity between the fuser connectors neutral and hot with the fuser removed, replace the fuser. If the problem is not related to the fuser, replace the engine controller board.
51.X PRINTER ERRORA loss of beam-detect occurred. X description: 1 = Beam-detect error 2 = Laser error
  • Press GO. The page containing the error will automatically be reprinted.
  • Turn the printer off and then on.
  • Reseat cables to the laser/ scanner and engine controller.
  • Replace the laser/scanner. 5. Replace the DC controller.
52.X PRINTER ERRORThe laser scanner speed is incorrect. X description: 1 = Scanner startup error 2 = Scanner rotation error
  • Press GO. The page containing the error will automatically be reprinted.
  • Turn the printer off and then on.
  • Reseat cables to the laser/ scanner and engine controller.
  • Replace he laser/scanner.
53.XY.ZZ PRINTER ERRORThere is a memory error with an accessory. The DIMM that caused the error will not be used. Values of X, Y, and ZZ are as follows: X = DIMM type 0 = ROM 1 = RAM Y = Device location 0 = internal memory (ROM or RAM) 1 to 4 = DIMM slots 1, 2, 3, or 4 ZZ = Error number 0, 1, 2 = Unsupported o unrecognized memory 3 = Failed RAM test 4, 5 = Exceeded maximum RAM or ROM size 6 = Invalid DIMM speed 7 = DIMM reporting information incorrectly 8 = DIMM RAM parity error 9 = ROM needs to be mapped to an unsupported address 10 = DIMM address conflict 11 = PDC XROM out of bounds 12 = Unable to make a temporary mapping
  • Turn the printer off, and reseat or replace the specified DIMM.
  • Try the DIMM in another slot. (The firmware DIMM must remain in slot #4�the lowest DIMM slot.)
  • Replace the DIMM that caused the error.
54.1 REMOVE SEALING TAPE alternates with FROM TONER CARTRIDGEThe toner cartridge has been installed without removing the sealing tape.
  • Open the top cover and remove the toner cartridge.
  • Pull the sealing tape tab to remove the strip.
  • Reinstall the toner cartridge and close the top cover.
54.4 PRINTER ERROR alternates with CYCLE POWER TO CONTINUEA problem exists with the customer�s line voltage.
  • Remove the printer from any UPS supplies, additional power supplies, or power strips.
  • Plug the printer into a wall outlet and see if this resolves the problem.
  • If the printer is already plugged into a wall outlet, try another power source in the building that is independent of the one currently being used.
  • The line voltage and current source at the printer location might need to be inspected to ensure that it meets the printer�s electrical specifications.
55.xx PRINTER ERROR alternates with CYCLE POWER TO CONTINUEAn internal communications error occurred.The page containing the error will automatically be reprinted.

  • Check the power at the customer�s location.
  • Replace the formatter and/or firmware DIMM.
  • Replace the engine controller board.
  • Replace the formatter board.
On the 5si, 8000, 8100 this could be a fuser problem. Try replacing the fuser.
56.X PRINTER ERRORAn incompatible combination of input/ output bins was selected. X = description: 1 = Illegal input or bad accessory connector 2 – Illegal output The page containing the error will automatically be reprinted.1. Turn the printer off, and then turn the printer on. 2. Check the printer�s configuration. 3. Verify accessory connection.
57.X PRINTER ERRORA fan failure was detected. X description: 4 = Printer fan 7 = Duplex fan
  • Check the fan�s connector and make sure the fan is not blocked.
  • Replace the fan.
On older style printers this is often caused by a bad main motor. (Older style printer being printers with halogen heating elements in the fuser – 4, 4+, 5, 4si, 5si, etc).
58.2 PRINTER ERRORAn environmental thermistor (TH3) failure occurred.
  • Turn the printer off, and then turn the printer on.
  • Verify the environmental thermistor cable is securely connected.
  • Replace the environmental thermistor.
  • If the error persists, replace the engine controller board.
59.X PRINTER ERRORA main motor error occurred. X description: 0 = Motor error 1 = Motor startup error 2 = Motor rotation error
  • Turn the printer off, and then turn the printer on.
  • Check and reseat the fuser and toner cartridge to make sure they are not hindering gear movement in the drive train.
  • Check the main motor�s cable to ensure that it is seated properly.
  • If the error persists, replace the main motor.
Message on printer Display PanelWhat it means.What to do.Additional comments.
62.X PRINTER ERRORThere is a problem with the printer memory. The X value refers to the location of the problem: 0 = Internal memory 1 to 4 = DIMM slots 1, 2, 3, or 4
  • Reseat the specified DIMM.
  • Replace the specified DIMM
64 PRINTER ERROR alternates with CYCLE POWERA scan buffer error occurred
  • Turn the printer off, and then turn the printer on.
  • Perform a cold reset.
  • If the message persists, replace the formatter or firmware DIMM.
66.XX.YY [TYPE] FAILURE alternates with CHECK CABLES AND CYCLE POWERAn error occurred in an external paper-handling device. 1st X = Device number in chain 2nd X = Device type 1 Input 2 Output 3 Stapler/stacker unit YY = Device specific errorPress GO to clear the message. If the message will not clear:

  • Turn the printer off, and then turn the printer on.
  • Check and reseat all cables between the printer and the specified device.
  • Reseat the external paperhandling device.
  • Replace the unit.
On 5si, 8000, 8100 check the C-link hook up. Also check the external paper handling PCA.
68 NVRAM ERROR CHECK SETTINGSAn error occurred in the printer non-volatile memory (NVRAM) and one or more printer settings has been reset to its factory default
  • Print a configuration page and check the printer settings to determine which values have changed.
  • Hold down CANCEL JOB while turning the printer on. This will clean up the NVRAM by removing old areas that are not being used.
  • Replace the formatter.
68 NVRAM FULL CHECK SETTINGSAn error occurred in the printer’s NVRAM and one or more printer settings has been reset to its factory default.
  • Print a configuration page and check the printer settings to determine which values have changed.
  • Hold down CANCEL JOB while turning the printer on. This will clean up the NVRAM by removing old areas that are not being used.
68.X PERMANENT STORAGE ERROR alternates with CHECK SETTINGSAn error occurred in the printer’s permanent storage and one or more printer settings has been reset to its factory default.Print a configuration page and check the printer settings to determine which values have changed.
68.X PERMANENT STORAGE FULLThe printer’s permanent storage is full. Some settings might have been reset to the factory defaults.
  • Print a configuration page and check the printer settings to determine which values have changed.
  • Hold down CANCEL JOB while turning the printer on. This will clean up the permanent storage by removing old areas that are not being used.
69.X PRINTER ERROR alternates with CYCLE POWER TO CONTINUEA temporary printing error occurred. X description: 0 = The duplex mechanism has failed
  • Turn the printer off, and then turn the printer on.
  • Reseat the duplexer. 3. Replace the duplexer
79 SERVICE [XXXX]The printer detected an error.
  • Press CANCEL JOB to clear the print job from the printer memory.
  • Turn the printer off, and then turn the printer on.
  • Try printing a job from a different software application. If the job prints, go back to the first application and try printing a different file. (If the message only appears with a certain software application or print job, contact the software vendor for assistance.)
  • If the message persists with different software applications and print jobs, disconnect all cables to the printer that connect it to the network or printer.
  • Turn the printer off.
  • Remove all memory DIMMs or third-party DIMMs from the printer. (Do not remove the firmware DIMM in the lowest DIMM slot.)
  • Remove all EIO devices from the printer.
  • Turn the printer on.
  • If the error no longer exists, install each DIMM and EIO device one at a time, making sure to turn the printer off and back on as you install each device.
  • Replace a DIMM or EIO device if you determine that it causes the error.
  • Remember to reconnect all cables that connect the printer to the network or computer.
  • If the error persists, replace the firmware DIMM.
  • Replace the formatter.
79 & 80 errors – general info.For trouble shooting 79 and 80 errors you want to determine if external I/O devices are the cause or if it is the formatter.Remove all external I/O devices (JetDirect, memory, etc.) and see if problem persists. If not, replace the formatter.
8X.YYYY EIO [Z] ERRORThe EIO accessory in slot [z] has encountered a critical error. [z] description: 1 = EIO slot 1-The printer detected an error with the EIO accessory. 2 = EIO slot 2-The printer detected an error with the EIO accessory. 6 = EIO slot 1-The EIO accessory detected an error. 7 = EIO slot 2-The EIO accessory detected an error.
  • Turn the printer off, and then turn the printer on.
  • Turn the printer off, reseat the EIO accessory in slot [z], and then turn the printer on.
  • Turn the printer off, remove the EIO accessory from slot [z], install it in a different EIO slot, and turn the printer on.
  • Replace the EIO accessory in slot [z].